
How to Paint a Room Yourself - DIY Tips for a Smooth, Pro Finish Without the Headache

Our Go-To diy Tips for a Seamless Paint Job Every Time
By Justin Pisarra, Pink Flamingo Painting
I’ve been painting homes in Howard and Montgomery County long enough to know this: painting looks easy until you’re halfway through, sweating over a drop cloth, and wondering why the wall resembles camouflage instead of a clean finish.
Do you want to know the truth? Painting isn’t complicated, but it rewards preparation, patience, and the right materials. If you’re tackling a room yourself, here are the same rules I follow on every job.

1. Safety First
If your home was built before 1978, lead paint may still be present. That’s not paranoia — it’s fact. Before sanding or scraping, use a lead test kit and check the EPA’s lead safety guidelines. A quick check now can save you from serious health risks later.
Lead dust is invisible, and once it’s in the air it’s easy to breathe in without realizing it. That’s why taking a few minutes to test is so important. If you find lead, don’t panic—just follow proper precautions or bring in a pro. It’s a small step that keeps you and your family safe while you freshen up your home.

2. Gather Your Gear Before You Start
Nothing kills momentum like cracking open a paint can and realizing you’re missing half of what you need. My essential kit includes
Painter’s tape (buy quality)
Tarps for exterior projects
Rosin paper for interior floors (especially hardwood and tile)
Delicate surface tape for varnished trim
High-quality brushes (cheap brushes = streaks and frustration)
Sanding sponges and joint compound for repairs
Think of it like cooking: lay everything out before you turn on the burner.

3. Prep Your Surfaces Like It Matters (Because It Does)
Anyone can roll paint on a wall. The real difference lies in the prep. It’s the least glamorous part of the job, but it’s the step that separates a quick cover-up from a finish that lasts.
Clean, dry, and dull surfaces are what paint needs to stick. Outside? Power wash with the right cleaner to strip away oxidation, dirt, and chalky residue. Kitchens and baths? Degrease those walls before you even think about opening a paint can. Glossy surfaces? Scuff them with an abrasive pad or pole sander so the new coat has something to grip.
Skip these steps, and you’ll see peeling, bubbling, or uneven coverage long before you should. Prep might feel like extra work, but it’s the part that saves you from repainting in six months and makes your DIY job look like a pro handled it.

4. A Tape Trick That Works
Painter’s tape is only as good as how you use it. One of my favorite tricks: run a damp sponge along the tape line before painting. It seals the edge, preventing paint from seeping underneath and gives you those crisp, clean lines everybody wants.
It also matters where you use it. Around trim, baseboards, or tricky corners, a little extra care laying down the tape saves you a lot of frustration when the job is done. And here’s another quick one: for rubber seals around garage or entry doors, apply a little petroleum jelly to keep the paint from sticking. It’s simple, but it works—and it’s the kind of detail that makes a DIY project look professional.
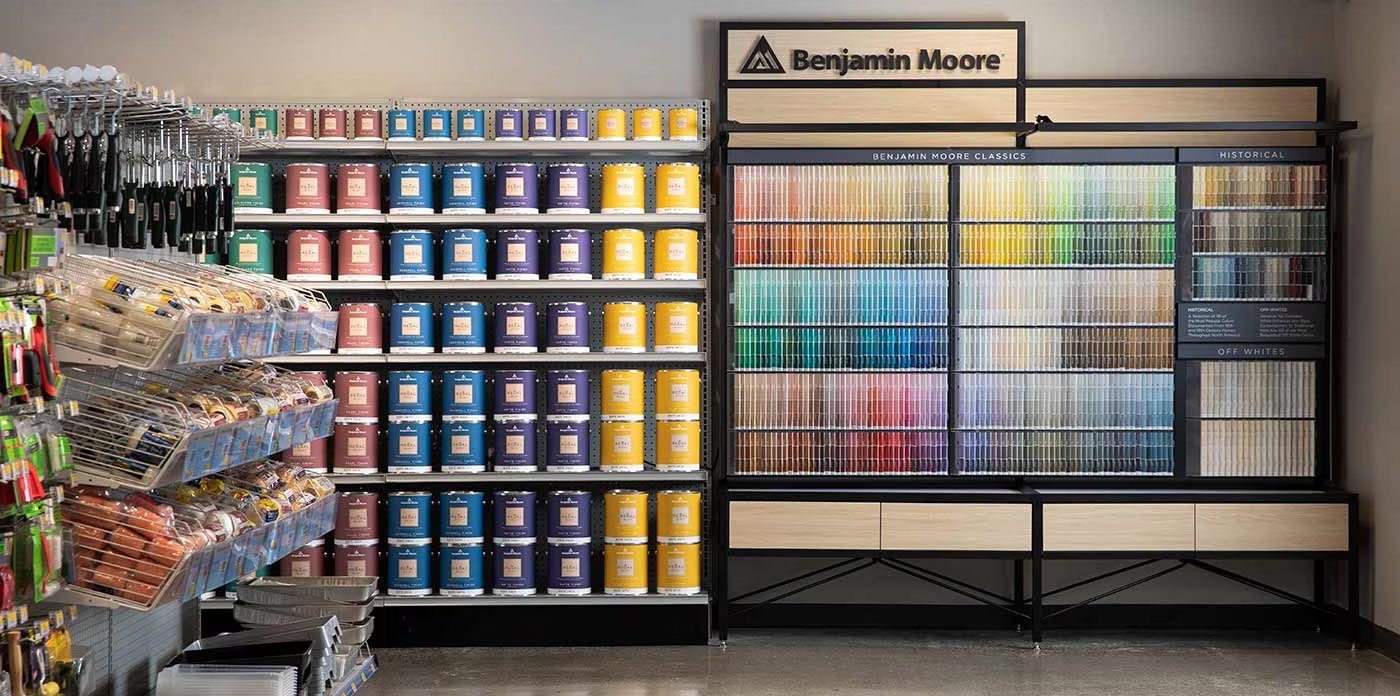
5. Don’t Cheap Out on Paint
Yes, budget paints exist. And yes, they cover like tissue paper. I stick with Benjamin Moore or Sherwin-Williams for a reason: one solid coat often outperforms two or three weaker ones. Quality paint saves time, looks richer, and lasts longer.
The difference isn’t just in the coverage, it’s in the durability. High quality paints are engineered with better pigments and binders, which means the color holds up longer and the finish can stand up to everyday life. Scuffs wipe off easier, walls don’t fade as quickly, and you’re not staring at uneven patches six months later.
Cheaper paints also tend to splatter more and dry inconsistently, which makes the whole job feel sloppier no matter how careful you are. If you’ve ever rolled on a wall and thought, why does this look streaky already? That’s usually bargain-bin paint showing its true colors.
So yes, the upfront cost is higher. But over the life of the room, a good gallon will save you both money and aggravation. Think of it as the difference between buying a tool you’ll keep for years versus one that breaks the second time you use it.

6. Slow Down Between Coats
I get it — you want to see the finished wall already. But if you rush the second coat, you risk lifting the first, leaving brush marks, or creating texture you didn’t want. That little bit of impatience can undo all the careful prep you’ve already put in.
Rule of thumb: wait about four hours between coats. Think of it as giving the paint time to settle and bond with the surface. The extra pause means smoother coverage, richer color, and a finish that actually lasts. A little patience here pays off big when you stand back and admire the wall for years instead of weeks.
Final Thought
DIY painting can be rewarding, but the difference between “good enough” and “damn, that looks sharp” usually comes down to prep, patience, and product quality.
And if you give it a go — cheers to you. But if the project turns into more than you bargained for, or you’d rather hand it off to someone who loves this work, that’s when folks around Howard and Montgomery County call me at Pink Flamingo Painting. Because while I enjoy sharing tips, I enjoy painting homes even more.

About the Author
Justin Pisarra runs Pink Flamingo Painting, serving homes across Montgomery and Howard Counties. He grew up in Chevy Chase and started painting in the late ’90sfirst for friends, then neighbors, then people looking for someone reliable who actually cares.
These days, he still shows up with the same mindset: do clean work, be honest, and make the space feel right. Justin lives in Fulton, Maryland with his wife, Laura. When he’s not painting, you’ll probably find him tinkering with his old Miata, watching Formula 1, wandering through neighborhoods looking for standout architecture—or digging through antique shops in Kensington or Ellicott City.
Tired of Wrestling With Paint?
DIY painting can be satisfying, but it doesn’t always go the way you hoped. If your bathroom—or any room in your home—needs a true refresh, Pink Flamingo Painting is here to make it easy.
We help homeowners in Montgomery and Howard County with thoughtful color guidance, careful prep, and finishes that actually last. No gimmicks, no pressure—just work you’ll feel good about every time you walk into the room.
👉 Click below to schedule a free estimate. Whether you’ve tried it yourself or you’re ready to hand it off, we’d love to help you fall back in love with your home.